If you’ve ever wondered how asphalt is laid, you’re not alone. Whether you’re thinking about paving your driveway or curious about how large commercial parking lots come together, it helps to understand what goes into a long-lasting asphalt surface.
In this guide, we’ll walk you through each step of the asphalt paving process—from the first swing of the excavator to the final roll. We’ll also answer some common questions about asphalt and give you tips to keep it looking fresh for years.
Before we get into how asphalt is laid, let’s talk briefly about what it is. Asphalt is made from a mixture of crushed stone, gravel, sand, and bitumen (a sticky black substance made from crude oil). It’s heated up and mixed until it becomes a hot, sticky material that can be shaped and compacted.
Asphalt is produced in a special plant that combines the raw materials at high temperatures. Once it’s mixed, the hot asphalt is transported to the job site in insulated trucks to keep it warm and workable. Timing is key—if the mix cools too fast, it can’t be spread or compacted properly.

Laying asphalt isn’t as simple as pouring it on the ground and flattening it out. It’s a detailed process that follows a step-by-step method to make sure the surface is solid, smooth, and built to last.
Let’s break it down into 7 main steps—based on the paving processes outlined by Wolf Paving, Superior Asphalt, and Bituminous Roadways.
We start by removing the existing surface—whether it’s old asphalt, concrete, or gravel. Using heavy equipment like excavators and bobcats, we tear out the old material and haul it off the site. Sometimes the recycled asphalt can be reused later.
Once the surface is cleared, we level and grade the area. Proper grading makes sure water drains off the pavement instead of pooling and causing damage. We also slope the surface slightly so rainwater flows toward drains or landscaping areas.
The sub-base is the layer beneath the asphalt. Think of it as the foundation of your pavement. We build it using compacted aggregate like crushed stone. A strong sub-base supports the asphalt and helps prevent cracks and shifting over time.

Before we move on, we do a proof roll—a test where we drive a heavy truck across the sub-base to see if it holds up. If we find any soft spots, we cut them out and repair them. This ensures the pavement won’t settle or fail prematurely.
Now it’s time to lay the binder layer—a strong mix of large aggregate and bitumen that creates a sturdy middle layer. It adds durability and structure, kind of like the bones of the road.
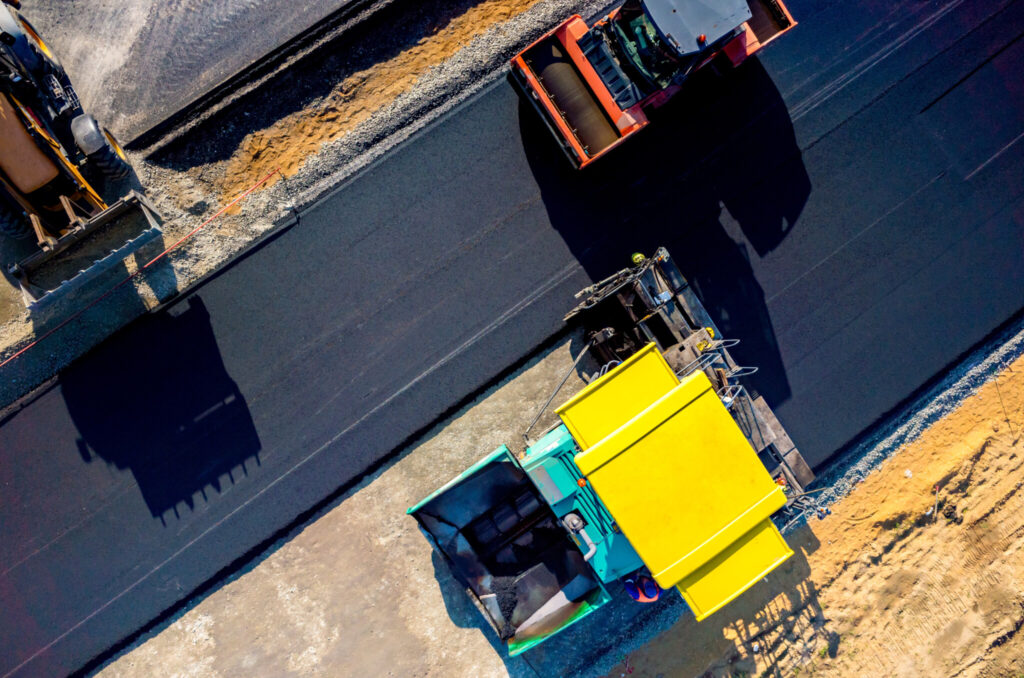
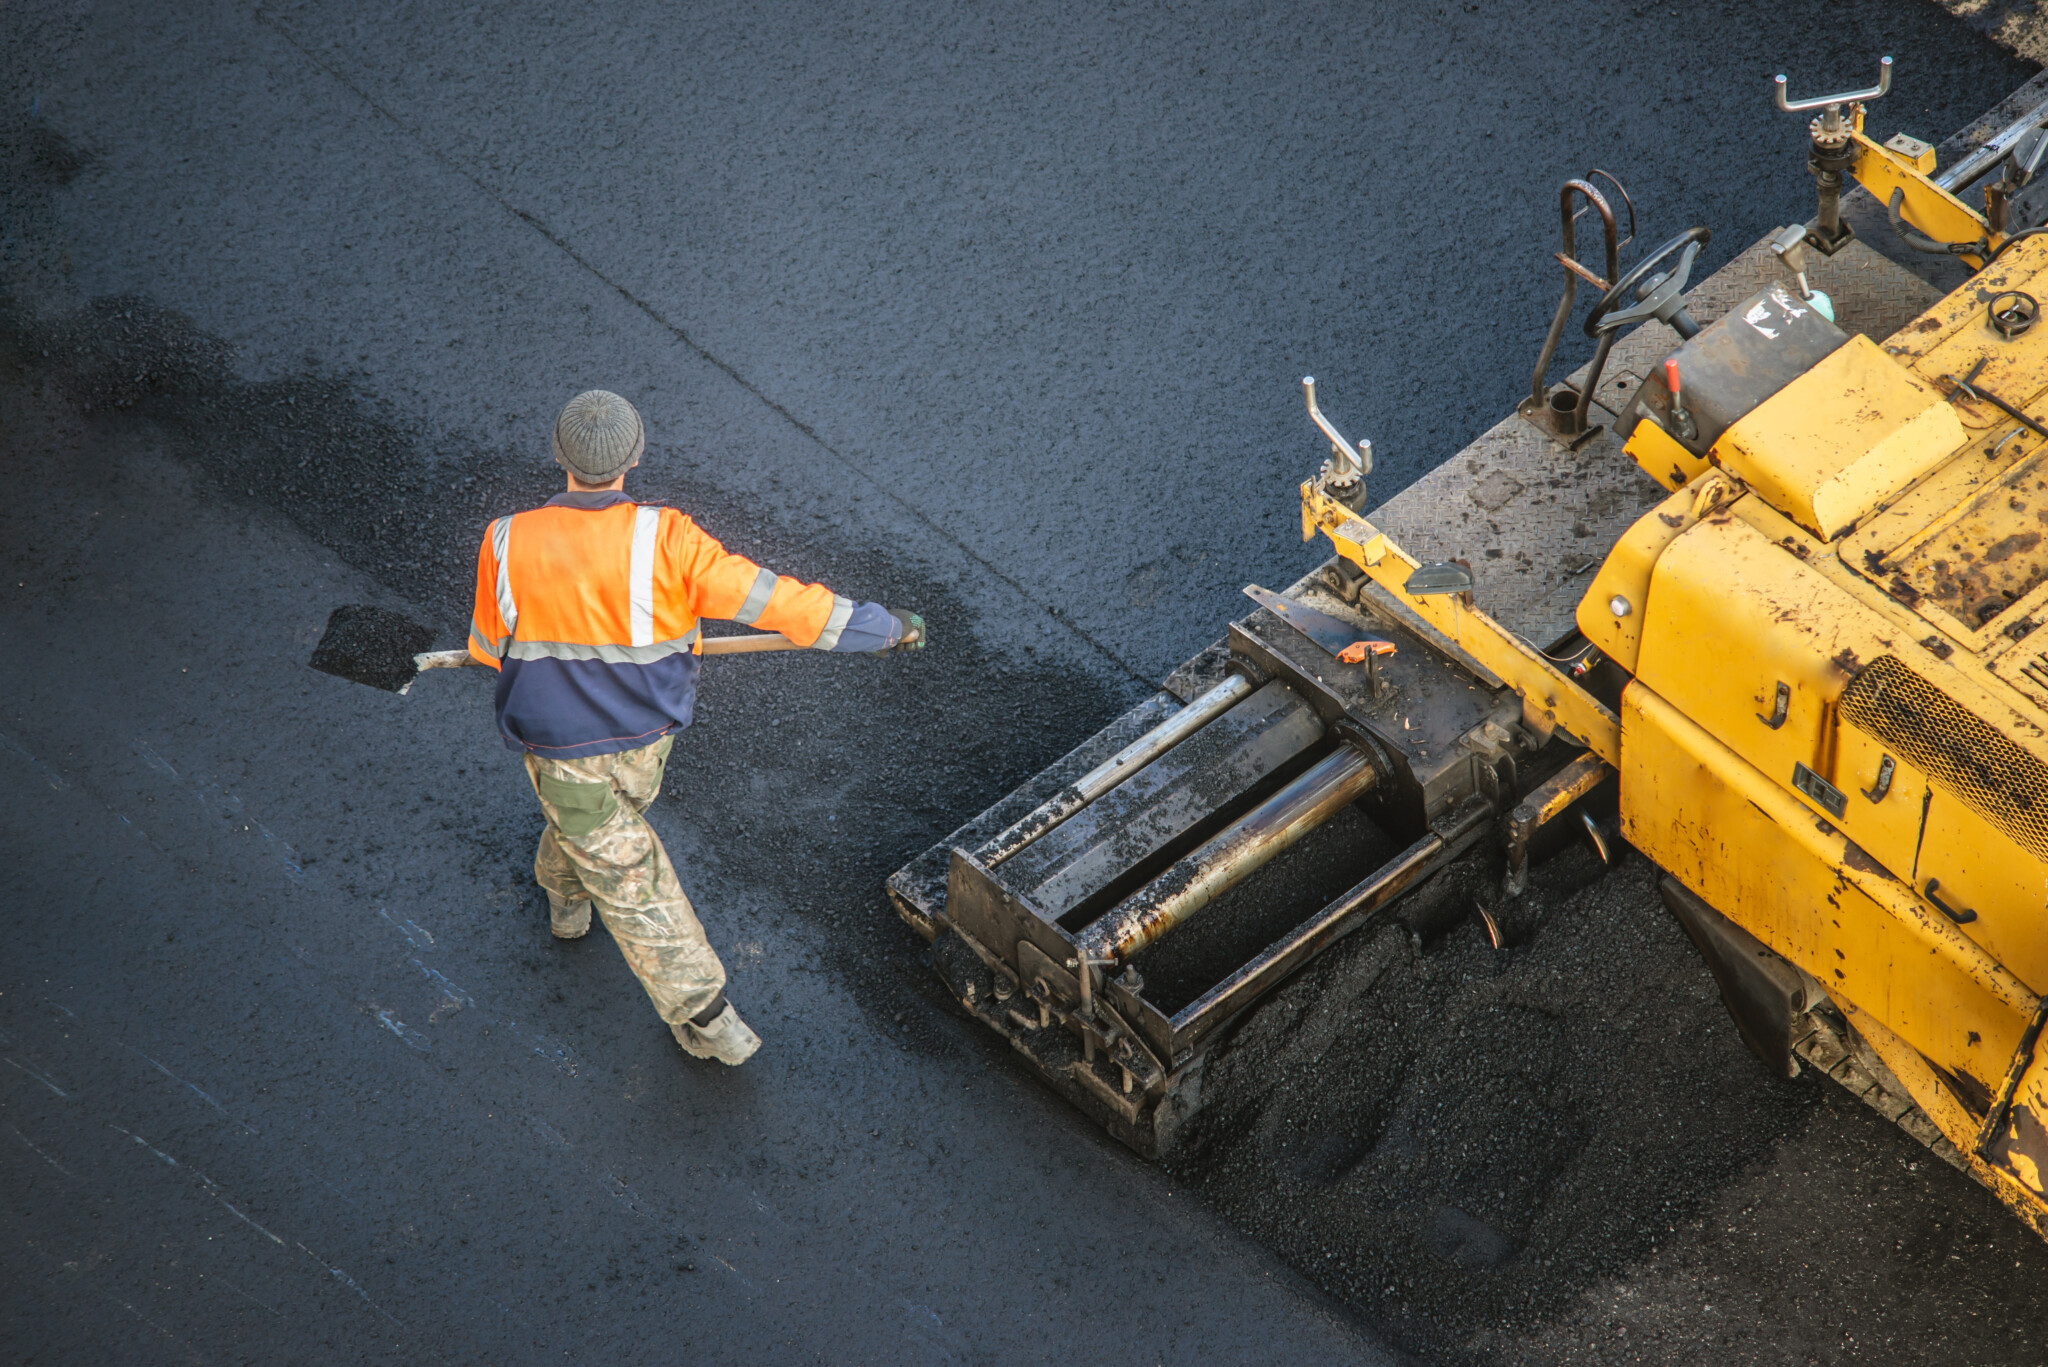
On top of the binder, we install the surface layer, made with smaller aggregate for a smooth, finished look. This is the part you see and drive on, so we make sure it’s laid evenly and compacted properly for a clean, professional result.
If the new pavement connects to existing surfaces like sidewalks or driveways, we create butt joints. These make sure the transition is smooth so there’s no bump or lip between old and new pavement.
Lastly, we use a roller to go over the entire surface one final time. This step locks everything into place, removes any air pockets, and creates that tight, compact finish that asphalt is known for.
To get the most out of your new asphalt surface:
Avoid driving on it for 24–48 hours after installation.
Don’t park heavy vehicles in the same spot during the first week.
Sealcoat every 3–5 years to protect against UV rays, water, and oil.
Sweep regularly to prevent debris buildup and stains.
Repair cracks early to prevent bigger problems down the line.
Most residential driveways can be done in a day. Larger commercial projects may take several days depending on the size and complexity.
For residential driveways, 2–3 inches is common. For commercial lots or streets, 4–6 inches or more may be needed.
Spring through early fall is ideal, when temperatures are warm enough to keep the asphalt mix workable.
You can usually drive on it after 24–48 hours, but it’s best to wait 3–5 days before parking anything heavy on it.
We’re a trusted asphalt and concrete paving company based in San Jose, California. We’ve been serving the Bay Area for over 50 years.
Yes! We handle everything from home driveways to large commercial lots, schools, and industrial yards.
Absolutely. Just contact us and we’ll schedule a time to check out your project and provide a free quote.
We proudly serve San Jose, Santa Clara County, and the greater Bay Area. If you’re not sure if you’re in our service area, just ask!
If you’re planning a new paving project and want it done right from start to finish, give us a call. At Calvac Paving, we bring decades of experience, reliable crews, and top-quality work to every job.